El Camino Firewall / Floorpan Swap
After stripping the car, I cut the windshield from the firewall, leaving the other three sides attached to the shell. The firewall needed to be cut out all of the way to the pillars to allow the GTO firewall to fit.
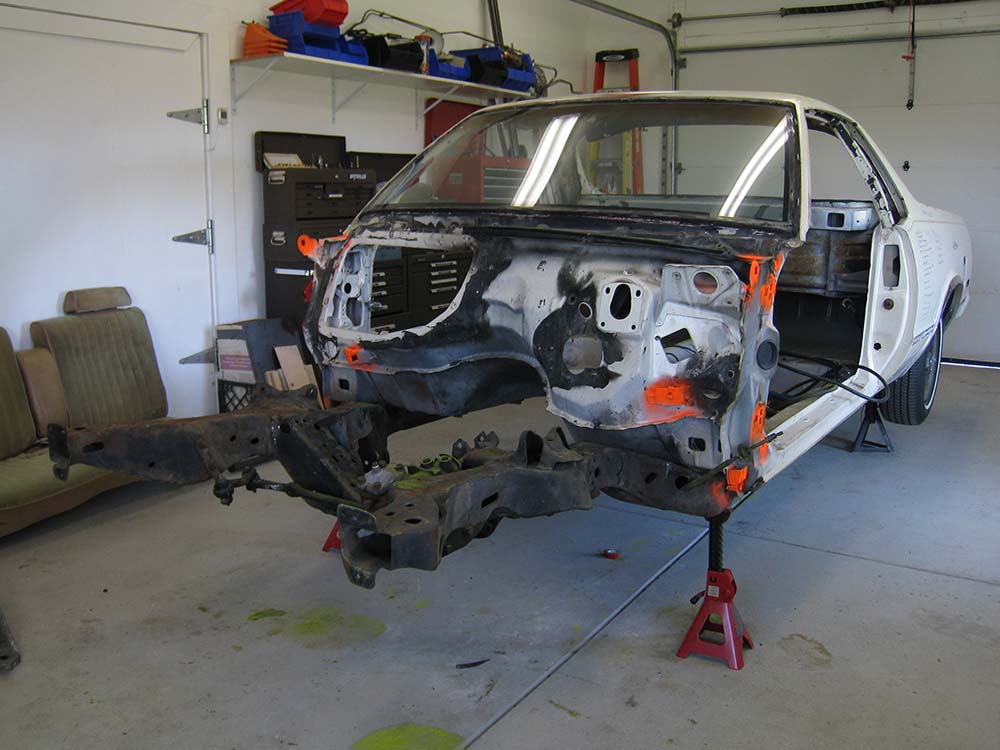
The body is still attached to the frame.
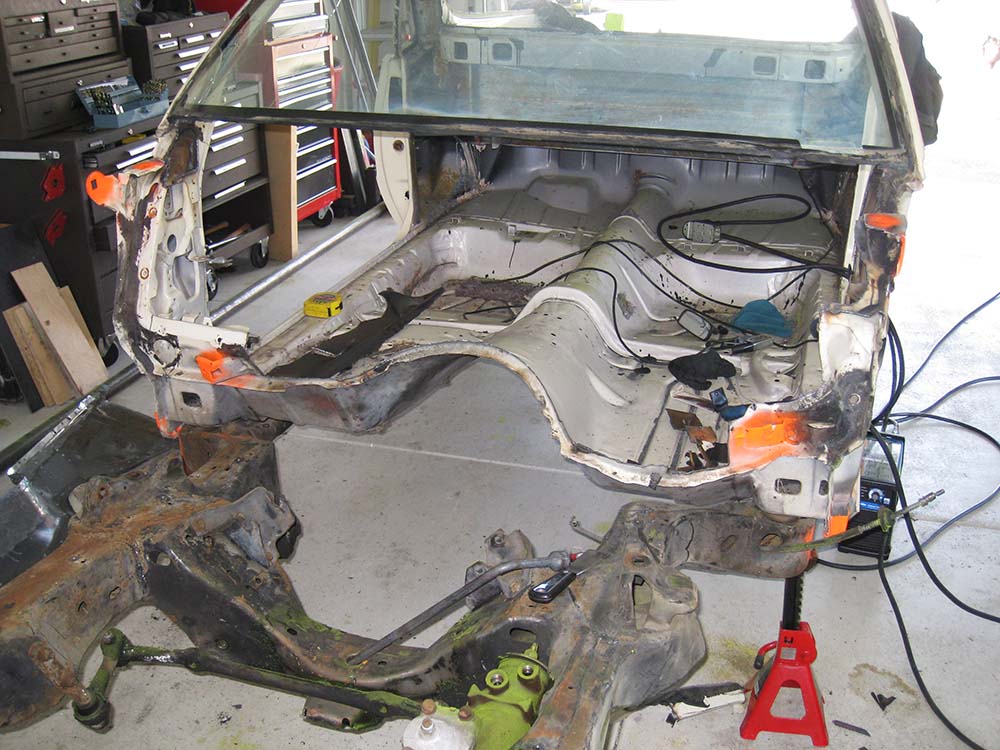
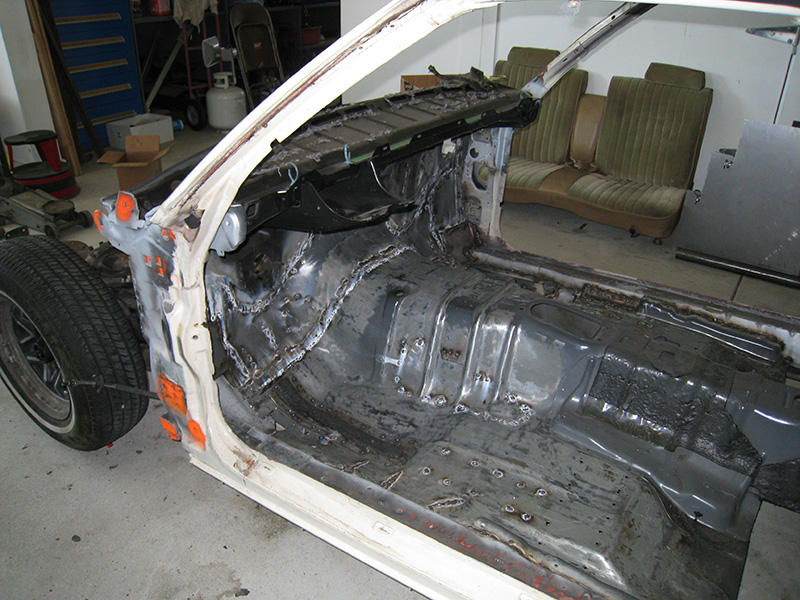
I removed the front suspension to allow for better access.
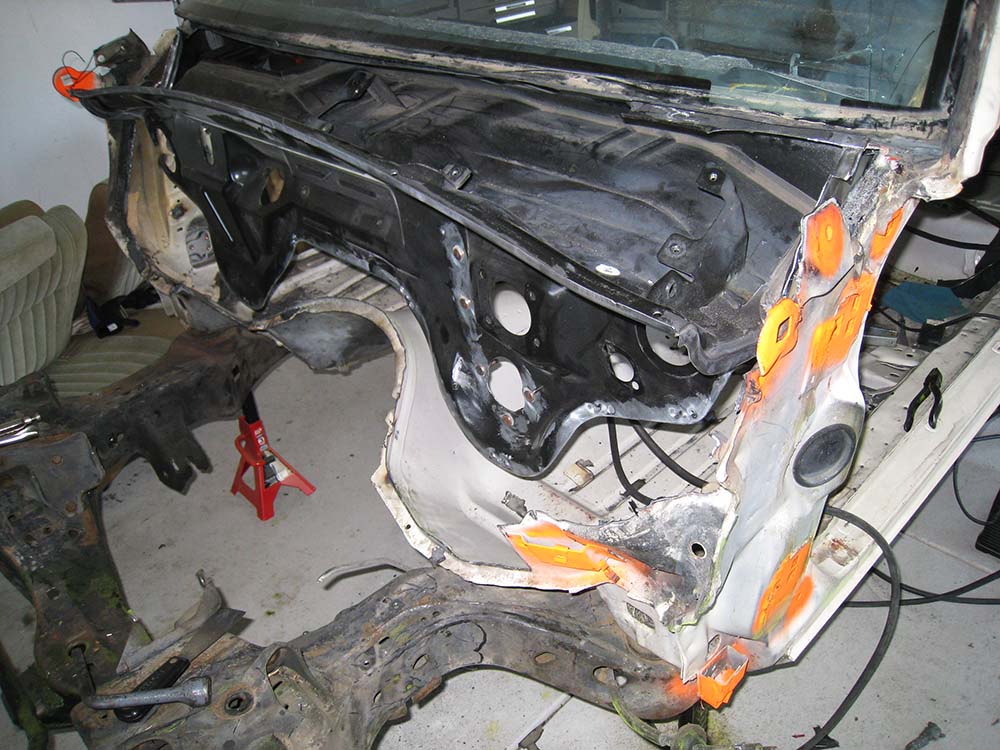
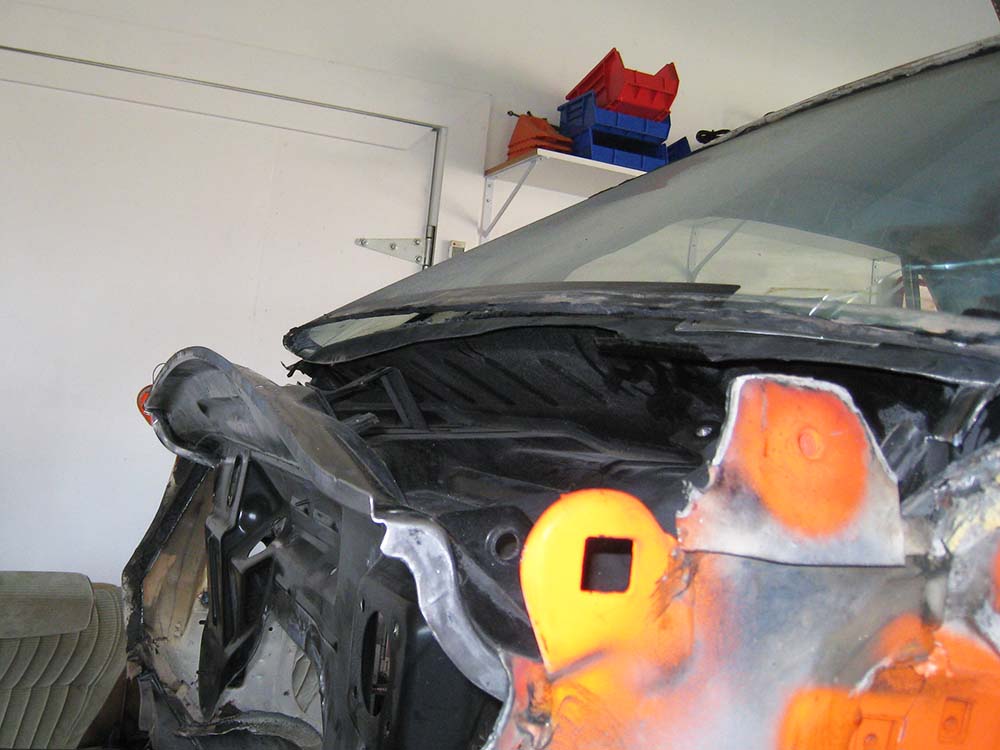
I highlighted the various attachment points with orange paint to highlight these point as I was cutting / bending them out of the way.
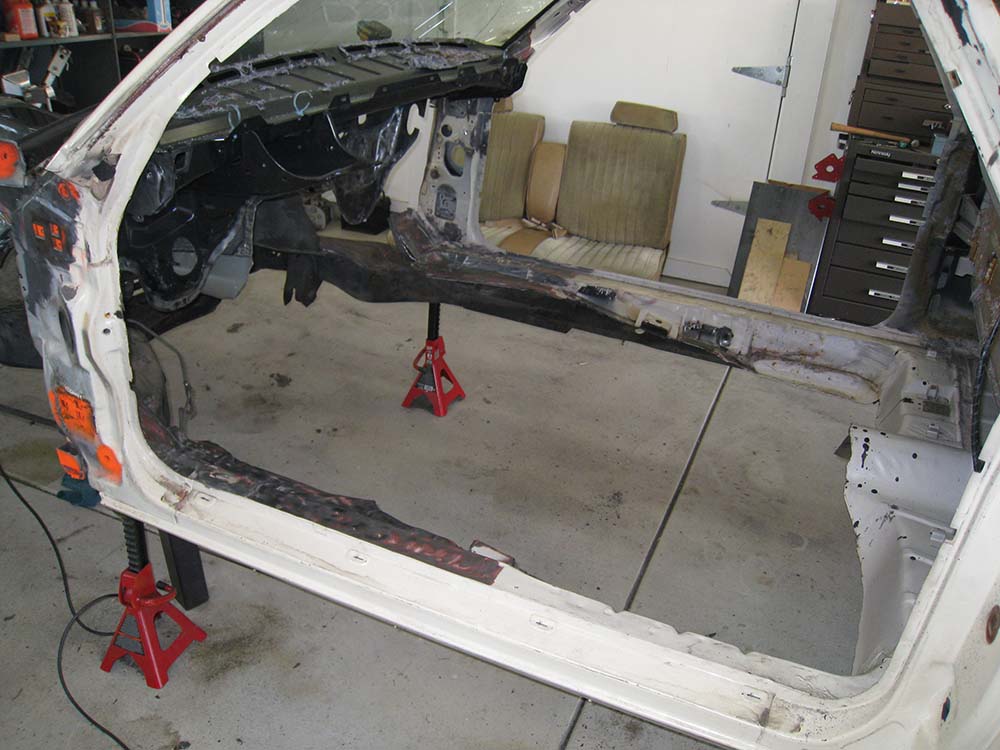
I then cut the firewall out from the shell.
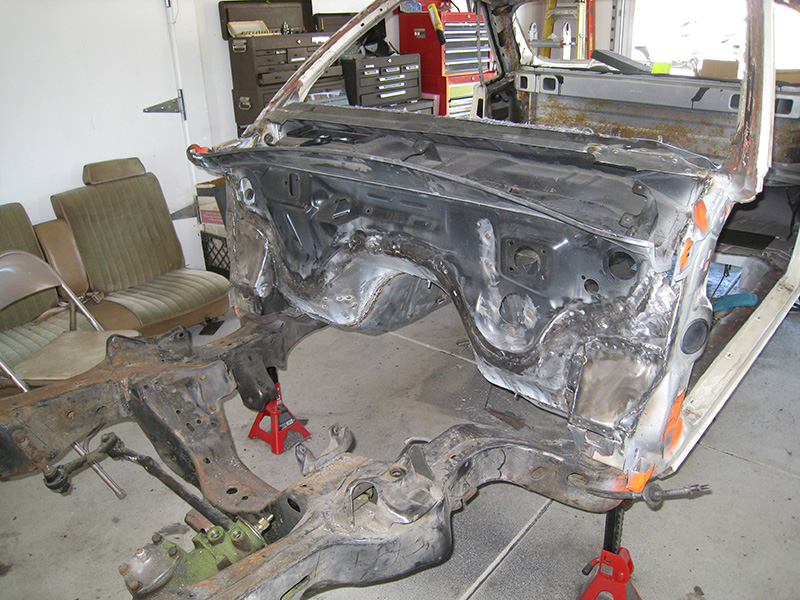
Next, the GTO firewall was set into rough position to check for fit.
Seen above, the windshield did not align well. The curve of the windshield was a good match in the center, however at the sides the El Camino has a decreasing radius curve where the GTO's curve appears to be a more constant radius.
(Note, that I bend the lip on the front of the GTO's firewall when I was removing the GTO's windshield and had not bent it back when I took this picture, so the curves appear different in the center, but they are the same.)
I did not want to fill that much space, so I cut and shaped the front end of the GTO's firewall to match the El Camino windshield (see below).
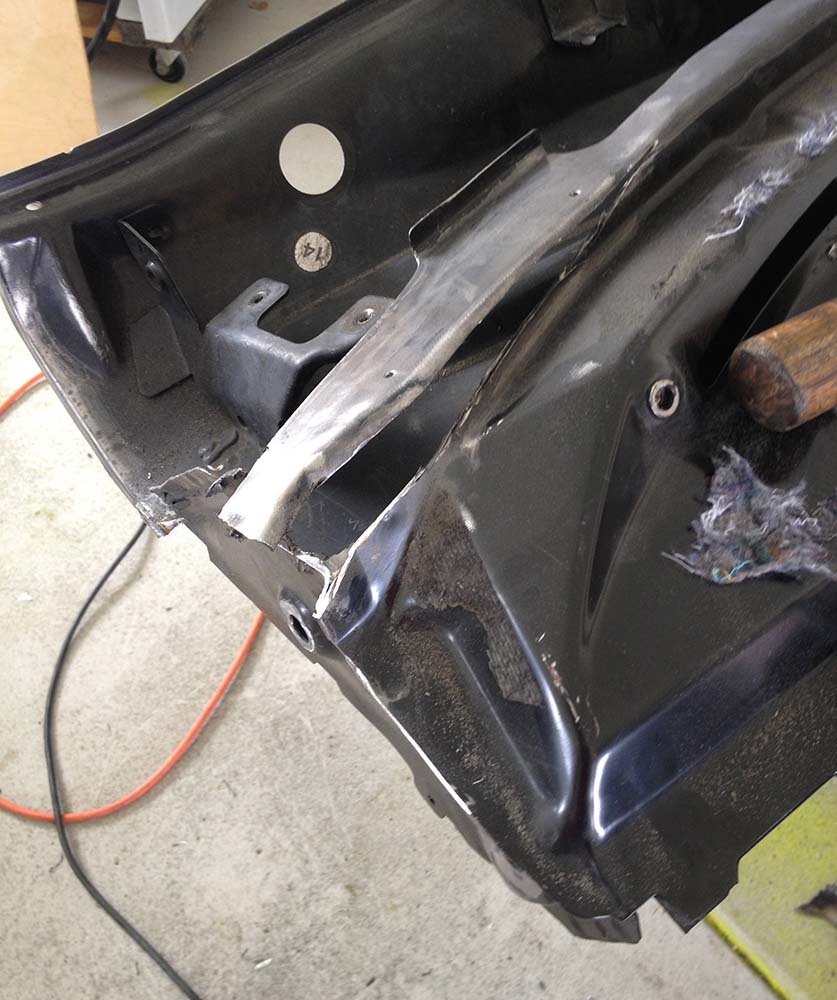
3/4" of material behind windshield lip was removed from both sides of dash
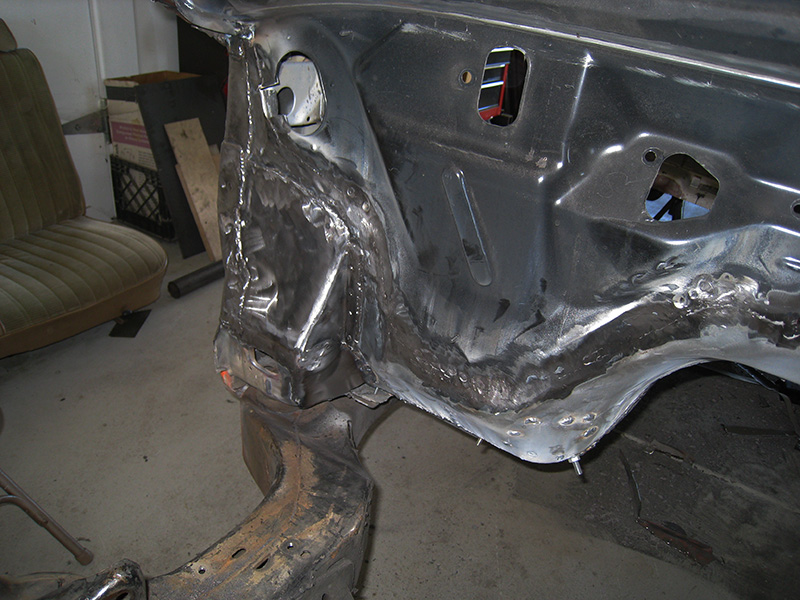
The sheetmetal was welded back together. A bit of curve shaping with the hammer and cutter were required to better match the windshield.
Once the curve of the windshield and firewall matched, I welded in a brace between the two front pillars and removed the windshield.
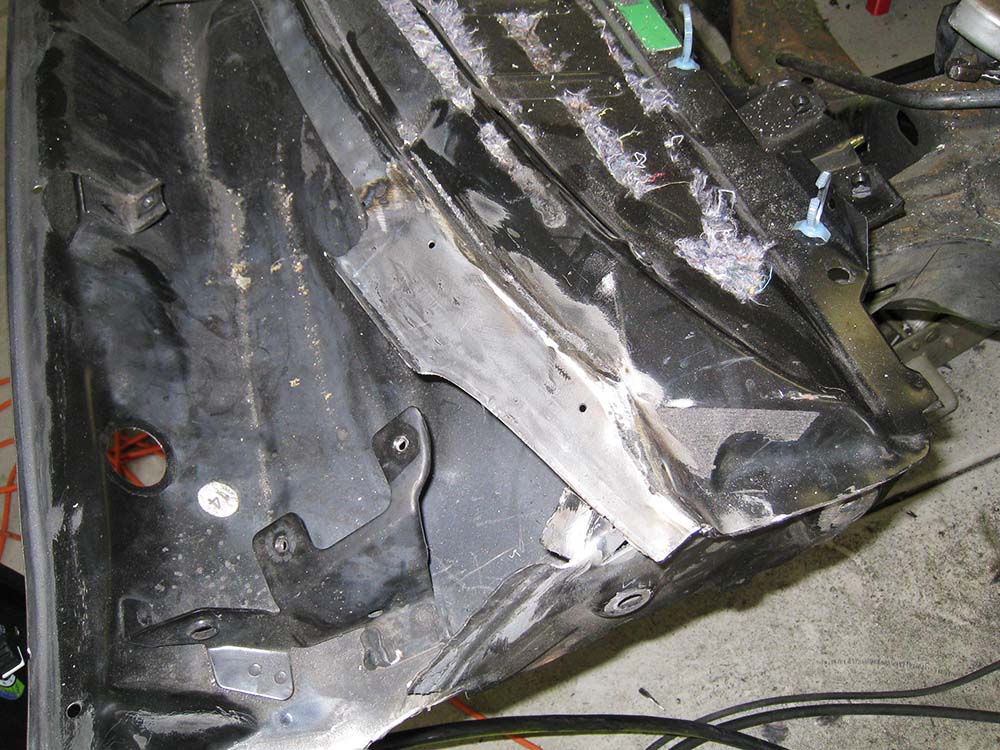
I removed a significant amount of structure from the pillars in the process of cutting the firewall out wide enough to accommodate the GTO part. I decided to box the upper sections of the pillars with some 16 ga. patch panels (see below)
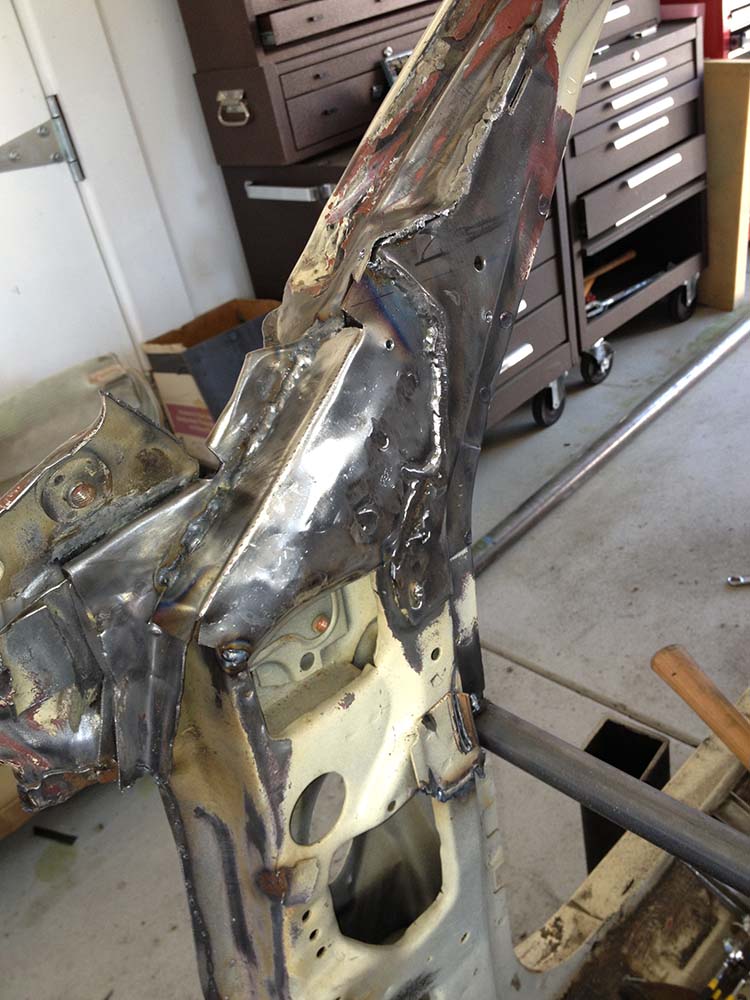
There was approximately 1/8" of clearance between the firewall and the pillars on both sides of the car.
I wanted to reduce the clearance, so I welded in some 16ga. spacers on both pillars (see below)

I then tack welded the firewall at the windshield pillars.
The next step was to begin installing the firewall.
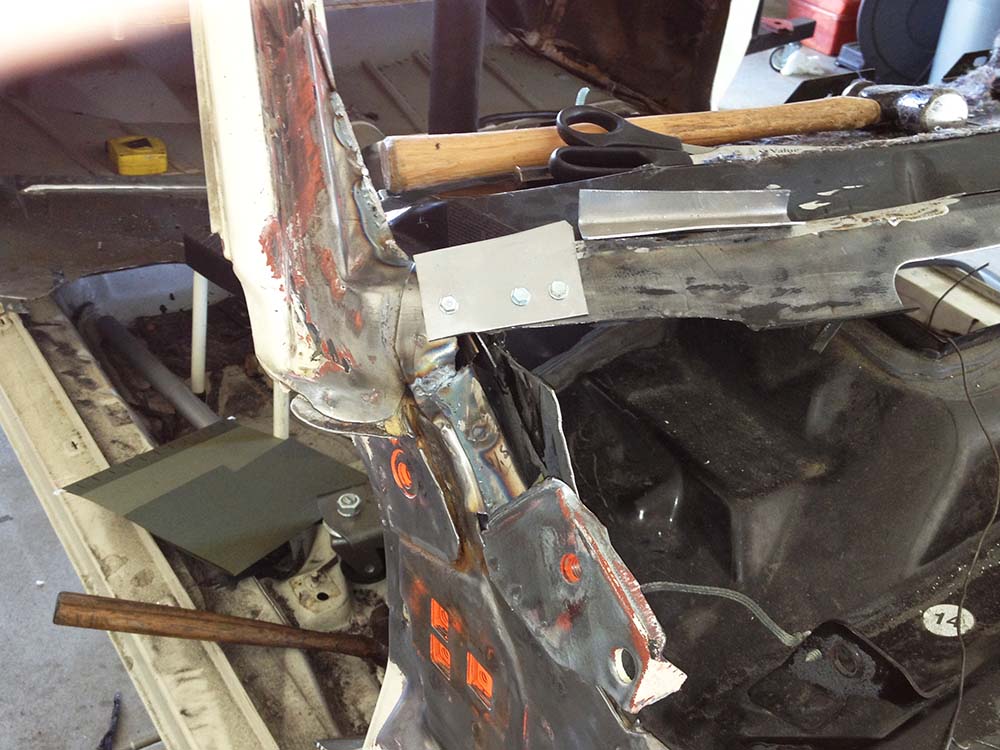
I used a pair of small plates and some screws to align the GTO's windshield surface to that remaining on the El Camino. The firewall was supported with a floor jack.
Once the screws were on place, I used the jack to align the angle. The El Camino was set level on it's jacks and I rotated the GTO firewall until the front surface (next to where the brake booster mounts) was perpendicular to the ground (see below)
The next step was to install the Firewall to floorpan transition piece from the GTO.
On the GTO, this piece was glued to the firewall. Before I detached the two pieces on the Pontiac, I ran 6 screws through the overlap between the two parts. The screws were re-inserted to force alignment.
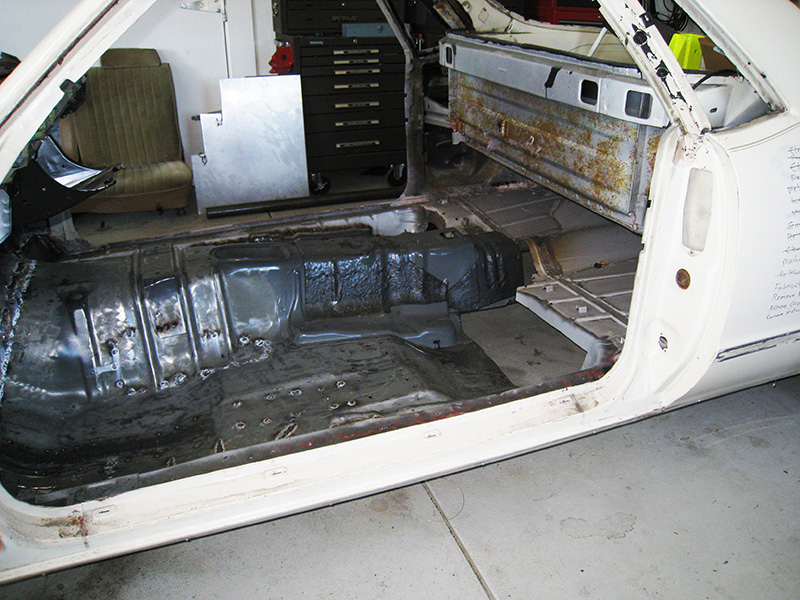
Once the transition pieces was trimmed and secured, I removed the remainder of the El Camino's floorpan. My original plan was to leave most of the El Camino's floorpan in tact and just use the sections of the GTO's pan necessary for mounting the console and seats, however as I was proceeding, it became clear that the GTO's pan would pretty much just drop into the El Camino body. I saw the following benefits:
The GTO's pan is considerably stiffer than the original.
Using the entire pan would guarantee correct location of the seat mounts.
The vertical alignment between the dash, console and seats would improve (in the foot area, the floorpan is
1" lower on the drivers side and 2" lower on the passenger
I removed the entire El Camino floorpan as it drops down from the frame rails. I also trimmed about two inches off of both sides and a foot off of the rear of the pan I removed from the GTO
From here, it was simply a process of trimming and fitting the pan into the body, aligning it and then welding everything together. Lot's of welding...
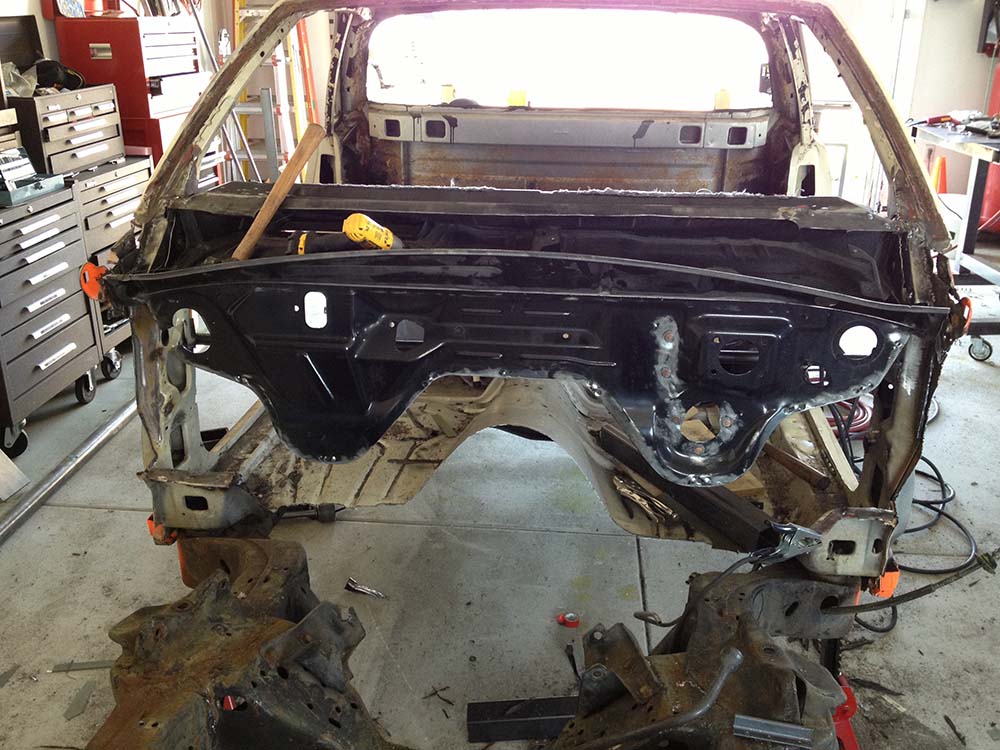
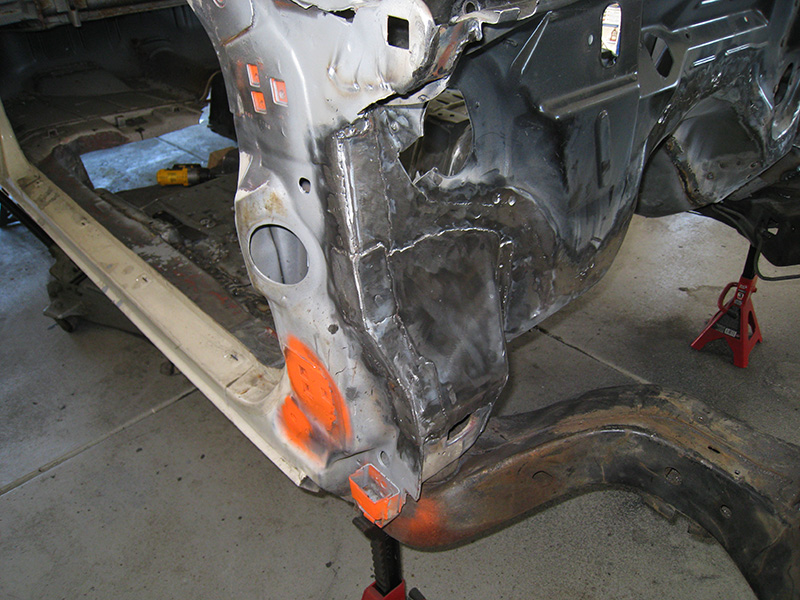
The GTO firewall, when installed aligned with the windshield, has reduced the leg room at the front of the cab by about two inches. However the seats from the GTO can be installed into the El Camino at heir full rearward position, so the overall legroom will match the original GTO. The new firewall is much 'flatter' than the original, as a result, the front body to frame mounts have been exposed. I fabricated 16 ga. sheetmetal panels to tie the mounts into the firewall. (As can be seen in the pictures, I will need to do a bit more fabrication once the body is cracked from the frame.
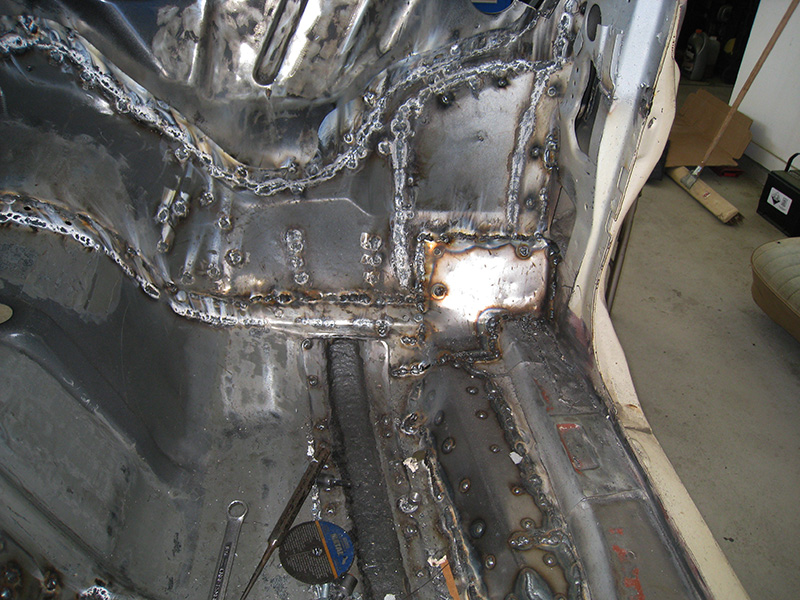
As you can see, there is a rather large gap aft of the GTO floorpan. I'm leaving it for now because I don't have a plan for that area of the car. I really don't like the spare tire in the passenger compartment. I might extend the front wall of the truck bed down to the floorpan and open up the section behind allowing me to install a fuel tank there. It's a common place to mount tanks today and would allow me to install the spare tire (and a pair of mufflers) under the bed at the rear. I still need to sort that out.
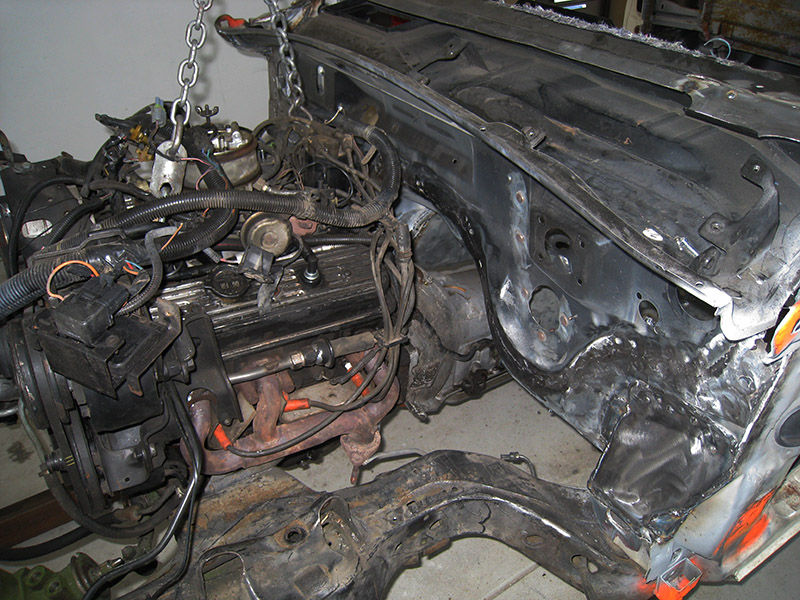
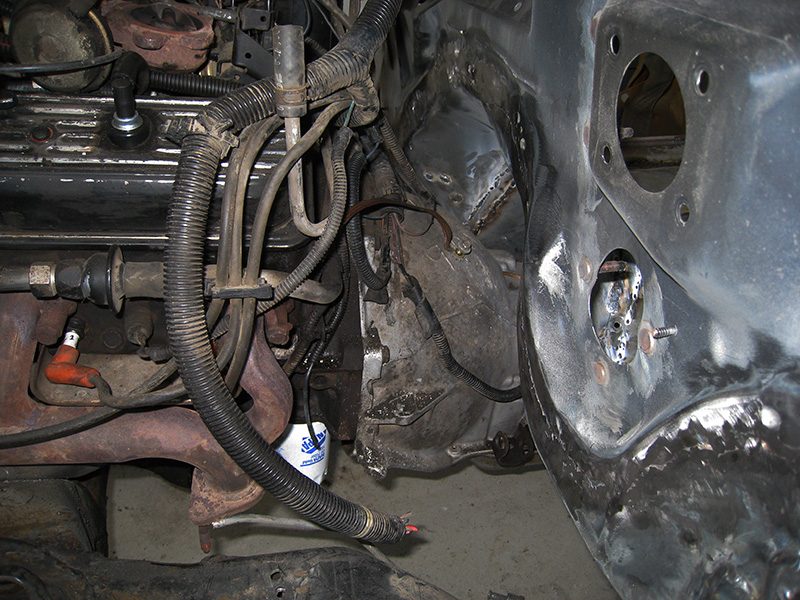
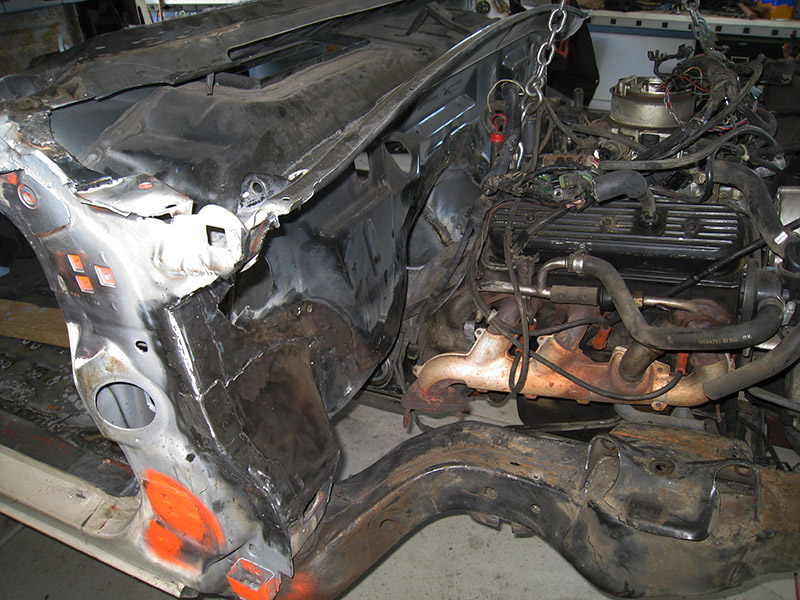
Though only a small amount of leg room was shifted back, the shape of he new firewall allows the engine to me moved aft by over 5", while maintaining a reasonable clearance to the firewall. In the pictures below, I dropped the original engine back into the chassis on the motor mounts and measured the firewall clearance. As I start designing the front suspension and it's mounting, I intend to take advantage of this to improve weight balance and clearance steering components.
Copyright 2014, Leo Stearns
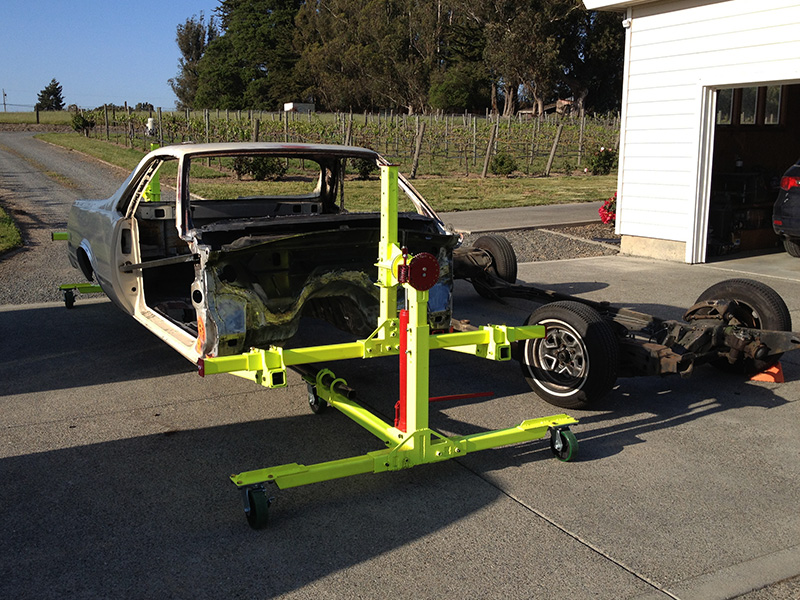
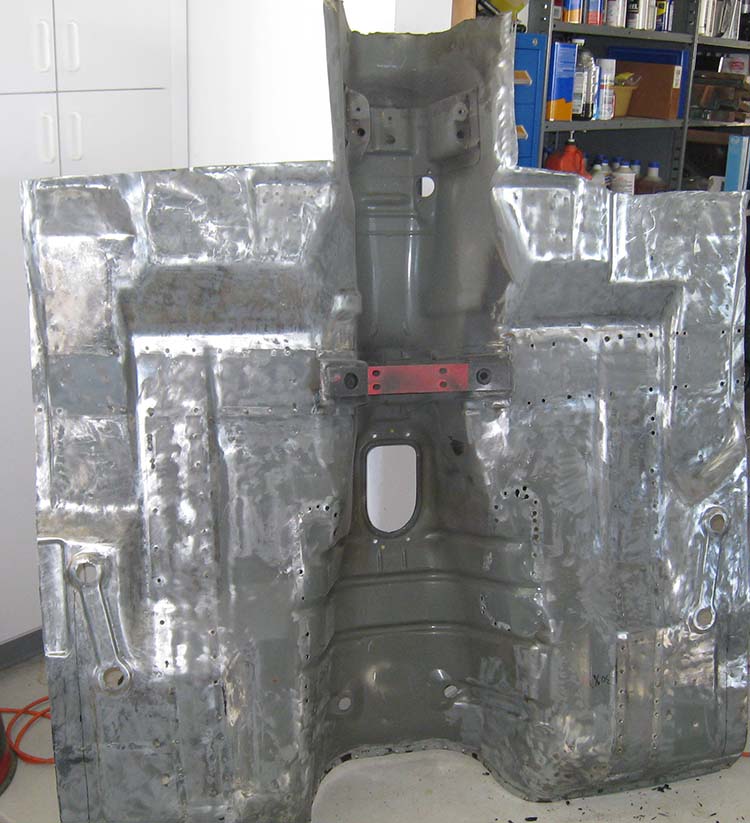
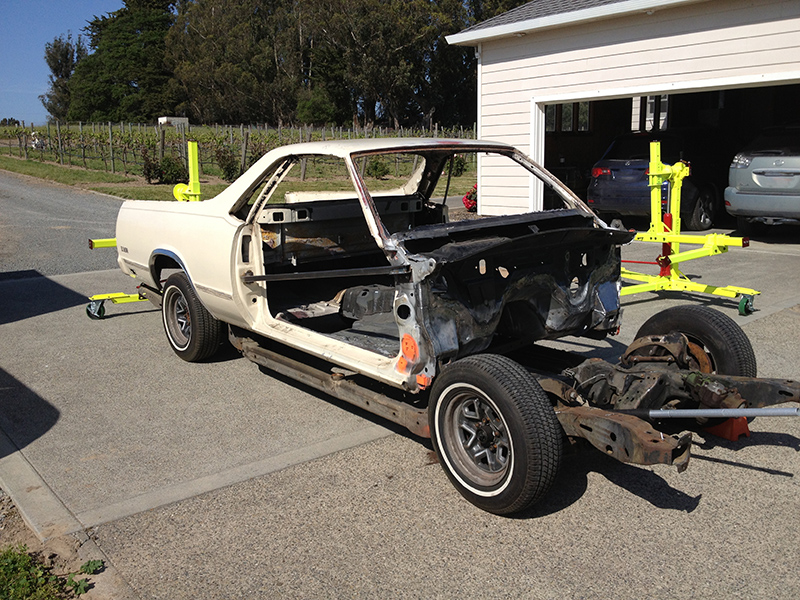
The next step was to remove the body from the frame. Because I don't have a lift, it was a bit interesting. I designed and fabricated the body rotisserie shown. It is a bit improved over the units I've seen available for purchase. I'm working through some bugs and once I've chased them down and updated the design, I plan on sharing the details.
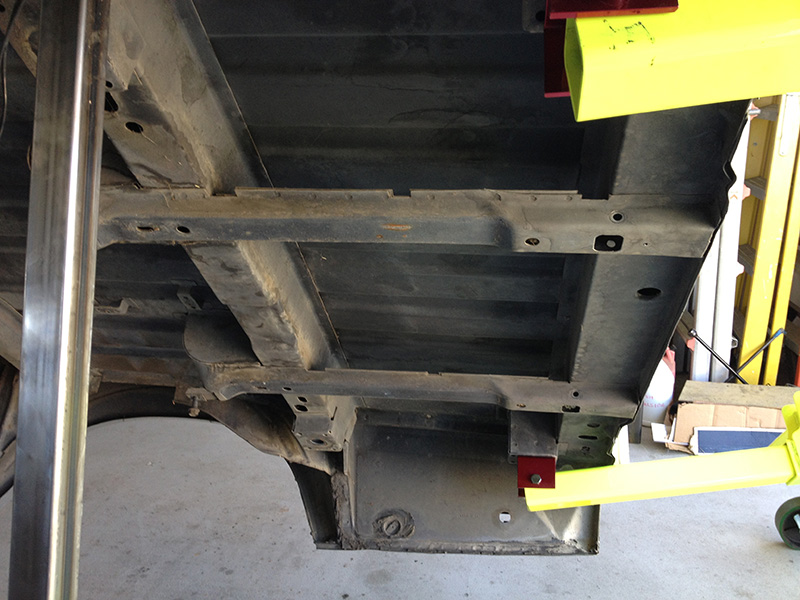
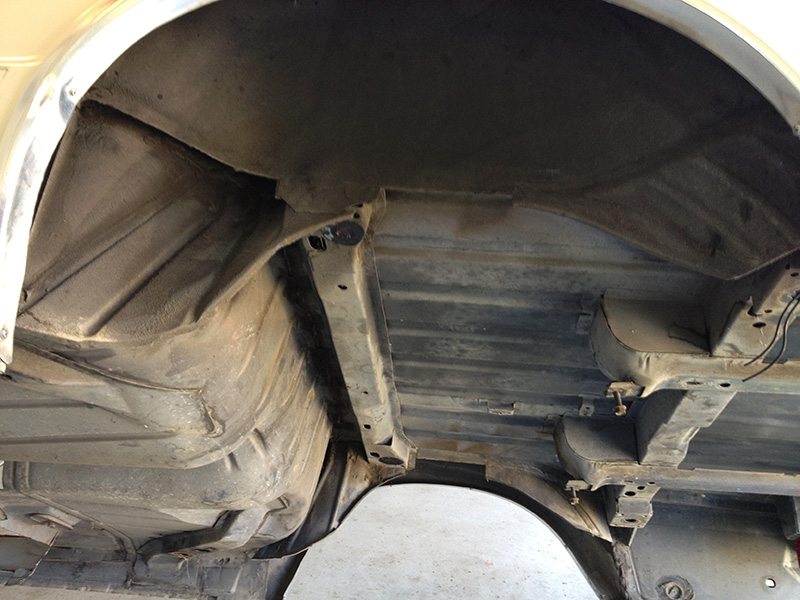
Here are a few snapshots of the underside of the body. Very clean with no rust!
More to be Added
Please check back later